Decor
Timelessly High-End Home Decor Options
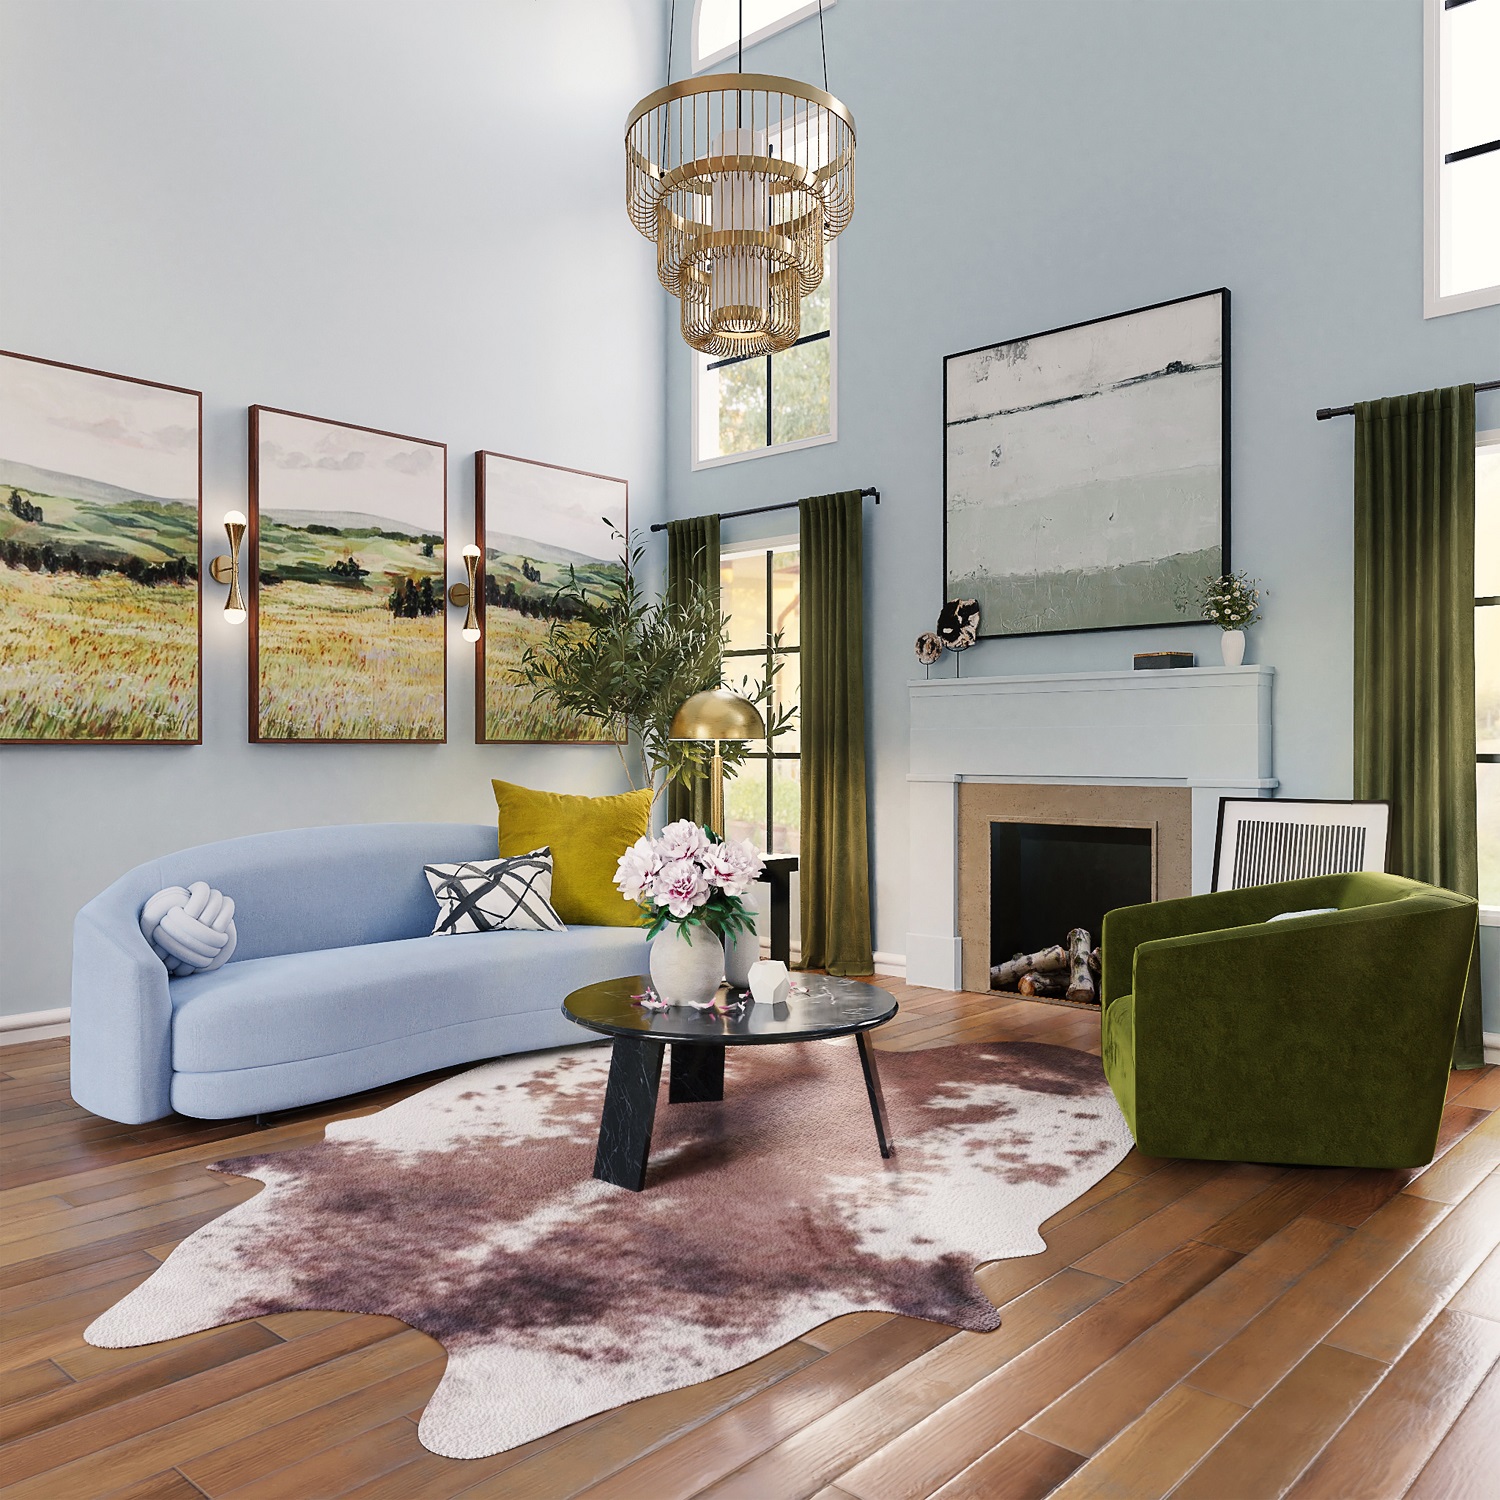
Who doesn’t want high-end items in their home? For many, the problem is finding fine decor that doesn’t lose its luster the moment certain styles and trends fall out of favor. We all want nice things, but nobody wants to be left holding the bag on thousands of dollars of home decor that looks dated and tacky within a few years.
The solution is simple: go for classic styles and timeless looks. That way, you...
What To Look For When Getting Your Interiors Revamped
The fascinating thing about a home is that it feels good to leave, and it feels even great to come back. It is the first place of love, hopes and dreams. And, when considering getting a revamp, it's vital to keep a few things in mind.
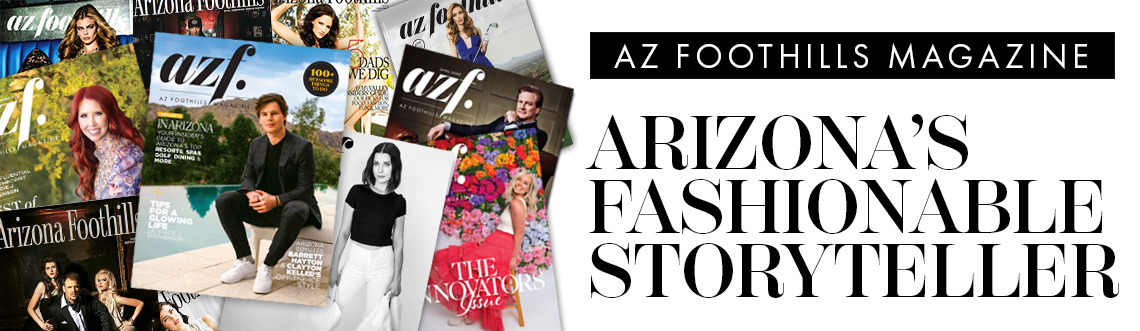
8 Unique Functional Home Décor Trends for 2022
Home décor trends are always evolving and while some styles are more timeless others will make your home feel dated after a while. While some people are designing or decorating with resale in mind, others choose elements simply because they love them, and it helps them enjoy their home. You’ll find plenty of unique and functional home décor trends in 2022. As things like monochromatic, boring palettes make their way out of style, color comes back in and is making a big splash. Here are 8 trends to keep your eye on in 2022 if you’re looking to make changes to your home décor.
Wintertime is Best Spent Outdoors With Brown Jordan's Comfy, Cozy Furniture
Wintertime doesn’t have to mean staying confined indoors. With Brown Jordan’s luxury furniture, ‘tis the season to be comfy and cozy outdoors now and all year long.
The Best Outdoor Furniture to Enjoy the Arizona Winter
While the onset of winter for most parts of the country means bundling up and staying indoors, in Arizona, it’s arguably the best time of year to spend time outside.
Enjoy the cool, sunny days and clear, brisk nights of the Arizona winter in the comfort of your own backyard with outdoor furniture from Brown Jordan at Scottsdale Quarter that hits every point of being stylish, durable and functional.
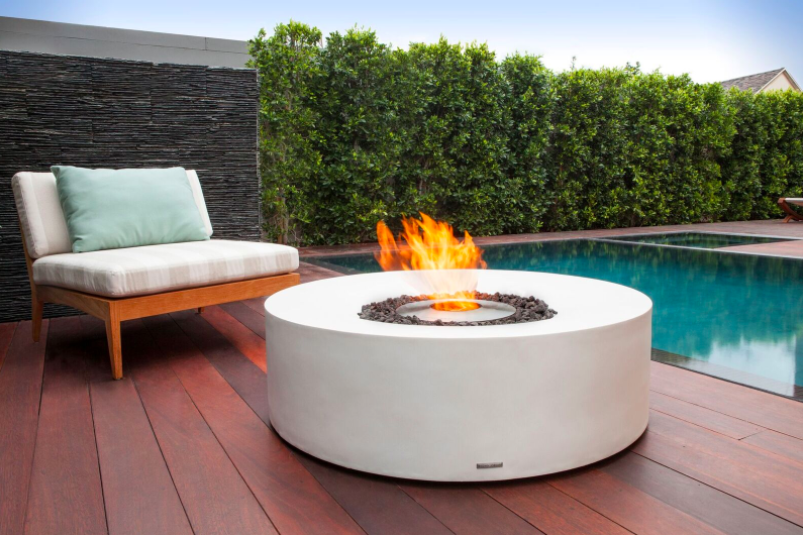
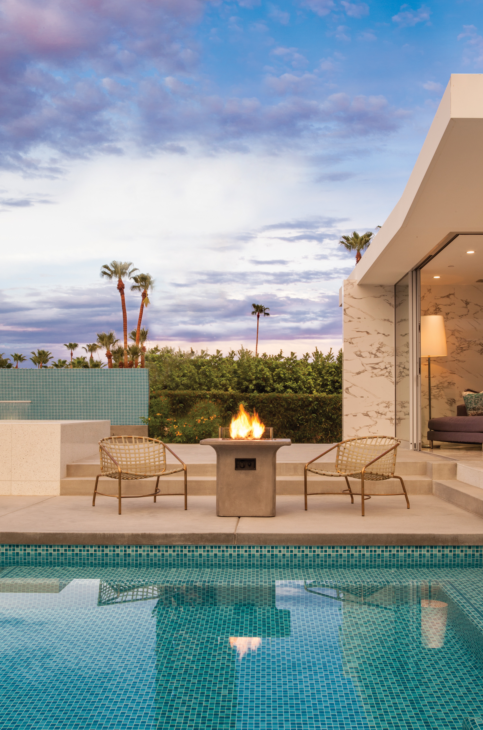
Brown Jordan Kove fire table, featuring a Brown Jordan Drift Chair